Information on working with walls in the early planning phases is described in the article "Walls: General Information."
Presentation

Cross-sectional view

Model representation
Features
Feature
- U-value
- Sound insulation class
Parameters
- Total area of wall covering
Outline Information
Labeling
At this stage, the component is not yet labeled or dimensioned in the plan views.
Instructions
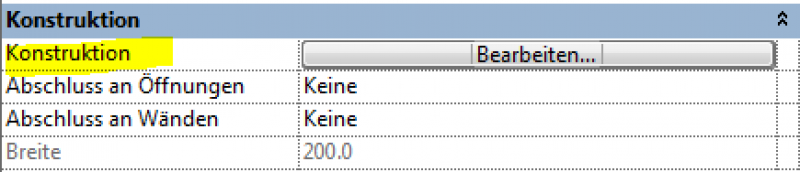
Material assignment
The wall material is defined in the "Edit Type" properties window, in the "Construction" group. The number of layers in a wall construction varies depending on the modeling method.
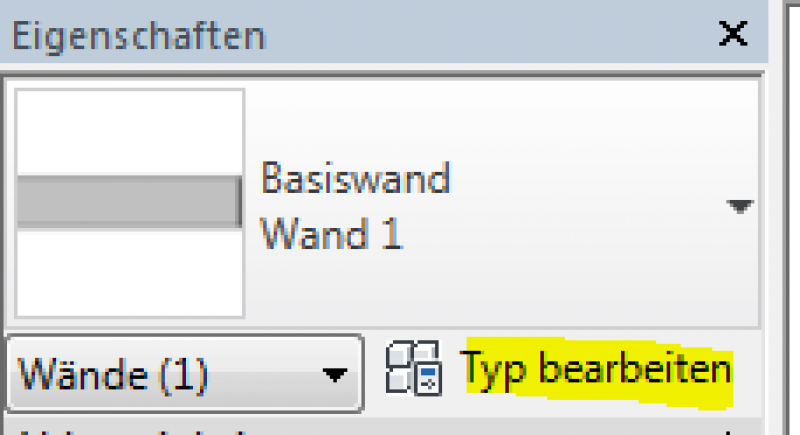
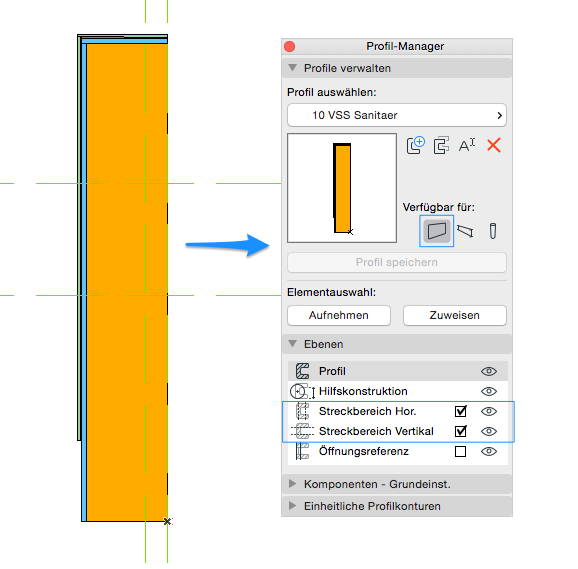
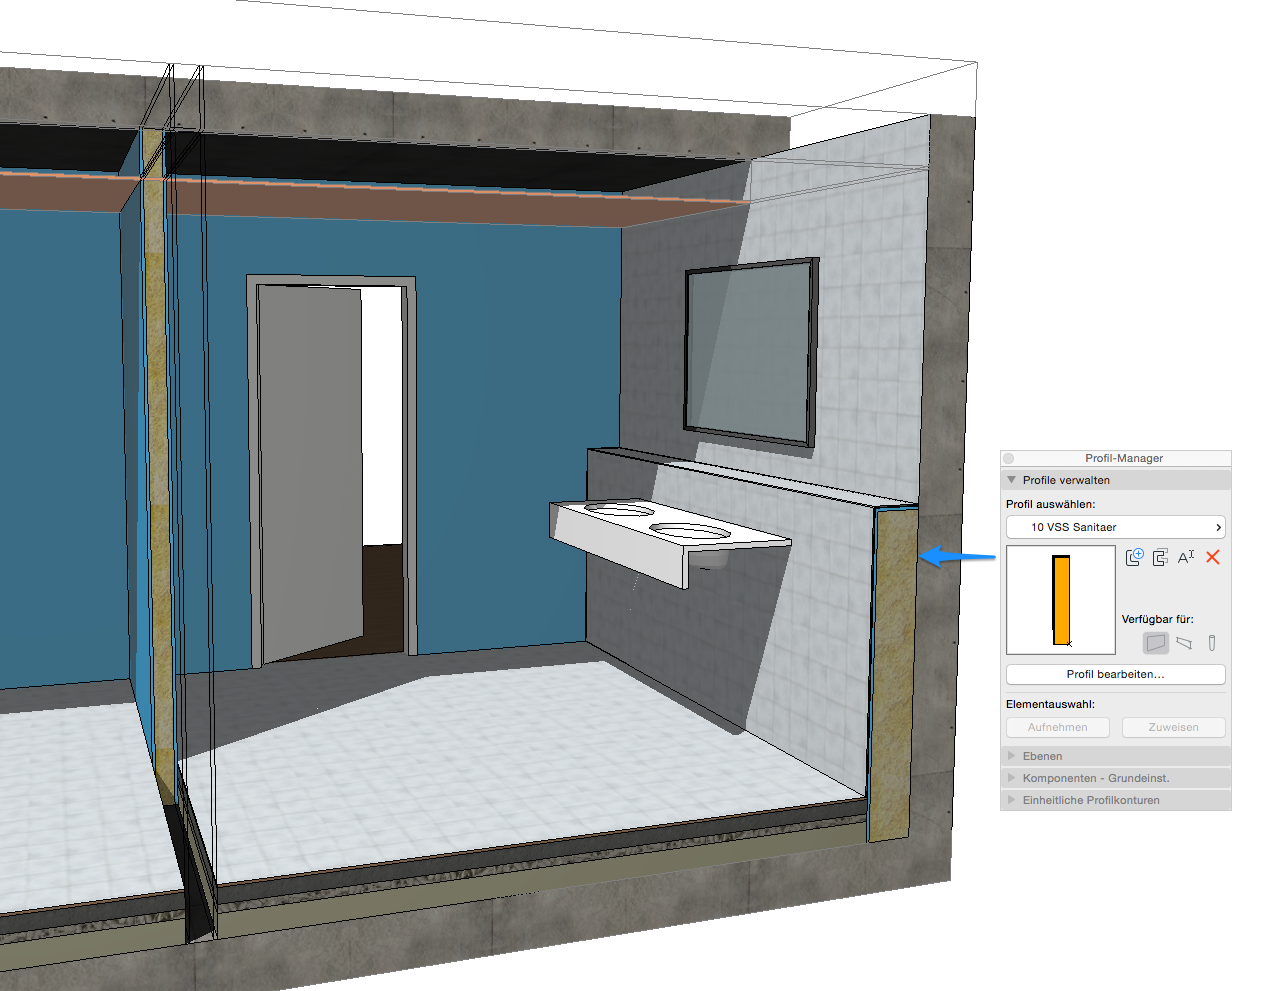
It is recommended that you always select the "Multi-layer" setting (or the "Complex Profile" for structurally more complex structures). For partition walls, it is particularly important to note that under
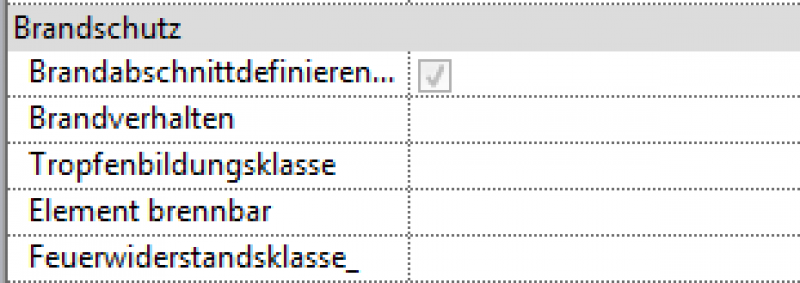
Categories and Features
In this phase, building physics properties are added.
Presentation
This is where the different countries differ: In Austria, submission plans are color-coded by building material.

Plaster

Glass
BSH
HOL

Cross-sectional view
Model representation
Cross-sectional view
Model representation
Features
Note
The following characteristics must be defined for wooden walls at this stage:
- Material grade = Strength class BSH Glulam strength classes
- Material grade = HOL grading class Solid wood grading classes
- Material grade supplement = Service class Service classes
Labeling
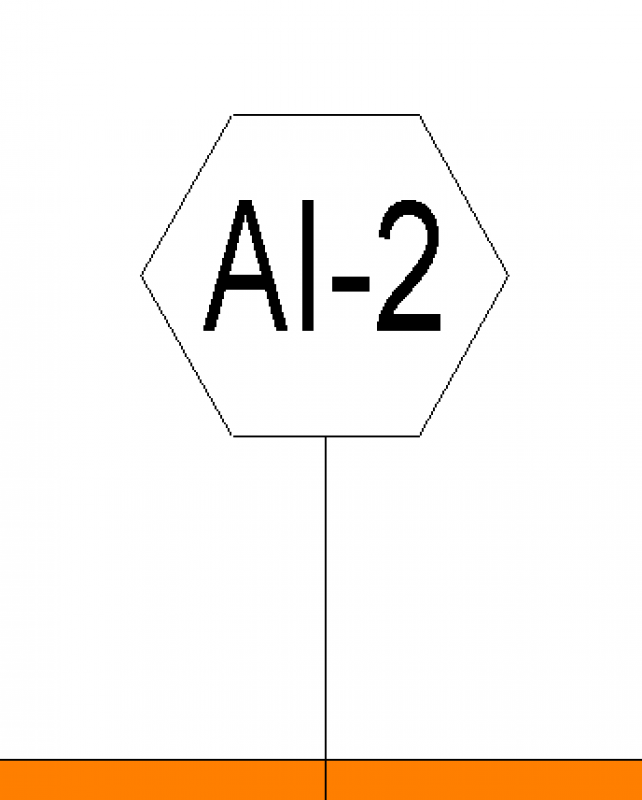
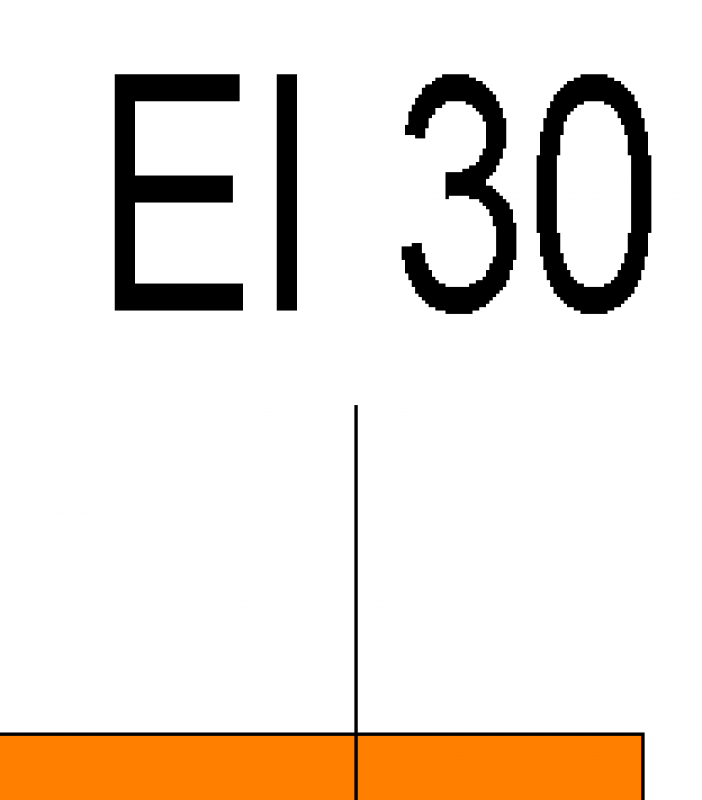
In this phase, the components are labeled on the floor plan with their part numbers as listed in the parts catalog, e.g., AW01 or IW01.
Instructions
The parameters for material quality and filler material quality can be found in the Properties window under the Materials and Surfaces group.
Note: Efficient editing is guaranteed when using the ParameterTool.

The new features and parameters for this phase must be added in the appropriate sections of the component's settings dialog.
A description of the settings dialog and the corresponding procedure can be found in the article "Wall: General" or in an earlier section of this article.
The labeling and dimensioning of the component should always be done associatively. Instructions on how to do this in ARCHICAD can be found in the relevant articles.
During this phase, all the information about the wall that is required for awarding the contract is added.
Presentation
Plan view
Model representation
Features
- Gross weight
- Reference
Parameters
- Net weight
- Net area of wall covering
- Thickness of wall covering
Outline Information
Labeling
The component should be labeled in the same way as it was during the submission phase.
Instructions
The new features and parameters added for this phase must be entered in the appropriate fields in the component's settings dialog.
A description of the settings dialog and the corresponding procedure can be found in the article "Wall: General" or in an earlier section of this article.
The labeling and dimensioning of the component should always be done associatively. Instructions on how to do this in ARCHICAD can be found in the relevant articles.

Unfortunately, this content is available only to our Pro users.
If you'd like to read the full article, try the Pro account or become a Pro user.