This article explains all the possibilities within Revit’s 3D environment and how best to work with it.
Unlike static renderings, you can move around, cut through, and walk through this 3D model. We’ve also had very good experiences with external software, such as Enscape.
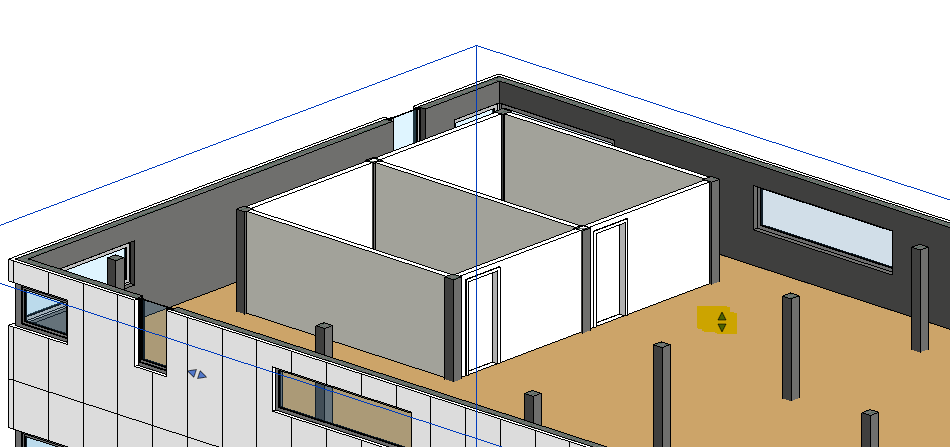
The 3D section can be accessed via the icon (3D house) in the Quick Access Toolbox.

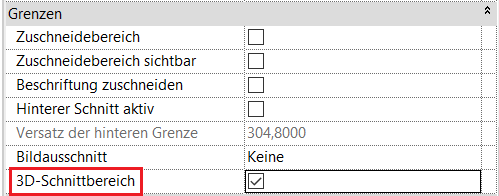
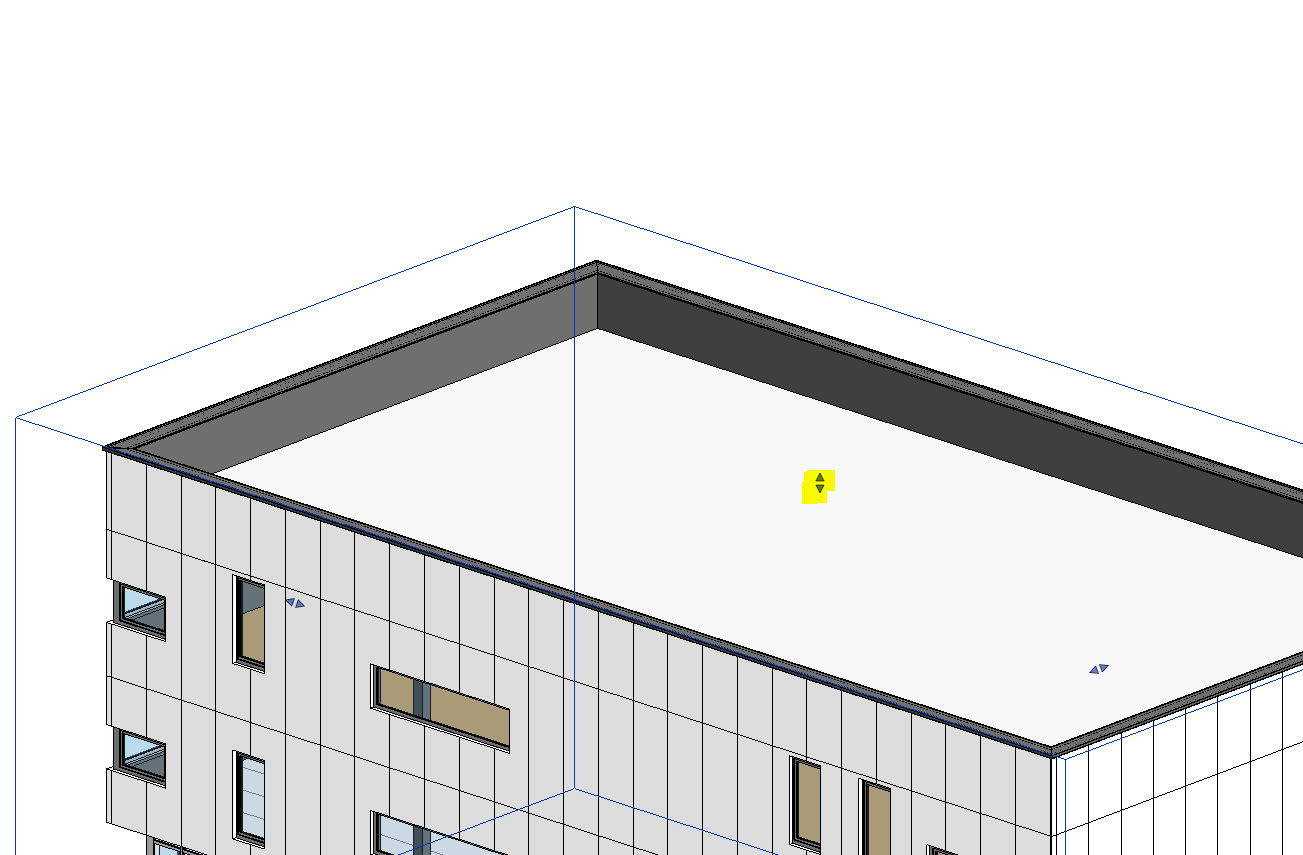
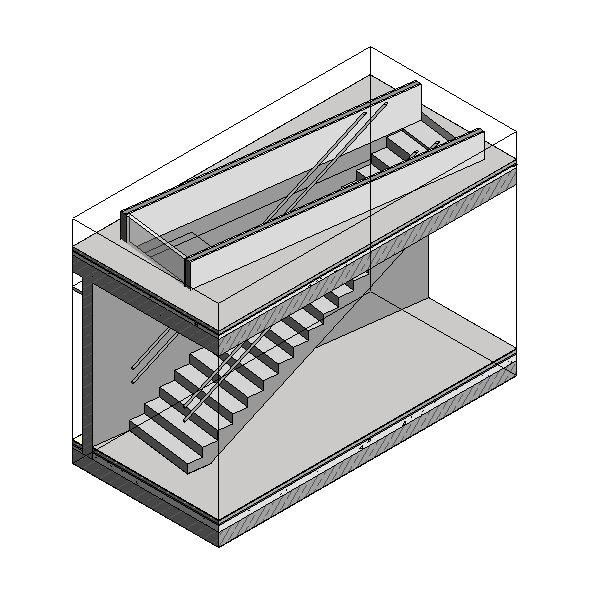
If the 3D cross-section view is enabled in the Properties window, you can drag it to the desired location using the two blue arrows to define the cross-section. If it is not enabled, the entire model is displayed.
If a 3D view has been created for a specific processing step, it should be renamed in a way that is clear to all users and, if necessary, locked.
Among the icons displayed at the bottom left of the window, you'll find not only graphics tools (see the "Graphics" section) but also the tool for locking the 3D view (a small house with a lock—"Lock 3D View").
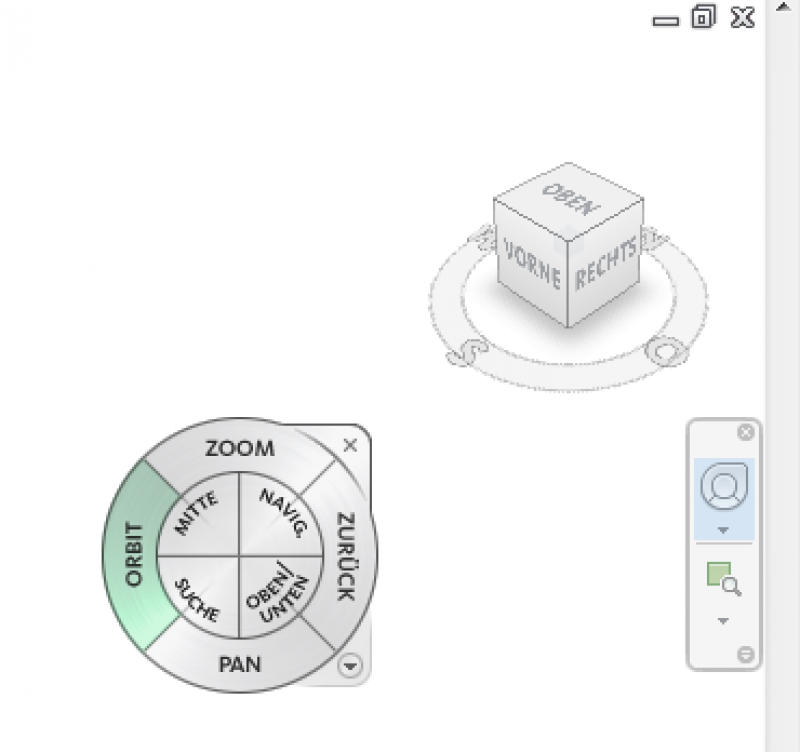
You can navigate the 3D model using the mouse, the ViewCube, or the steering wheel.
The Selection Frame tool in the Modify tab isolates a selected 3D element along with a certain surrounding area.

This feature is particularly useful for troubleshooting and resolving issues in Revit, as it allows you to select multiple components. If you isolate them in the window afterward, you often get a clear picture of the problem and can easily fix it.
There are several graphics settings that can be used to change the 3D appearance of a model.
Level of detail:
- Coarse
- Medium
- Fine
Model display:
- Wireframe model
- hidden lines (test on performance)
- Shaded
- Uniform colors
- Realistic
- Ray tracing
- Graphics display options
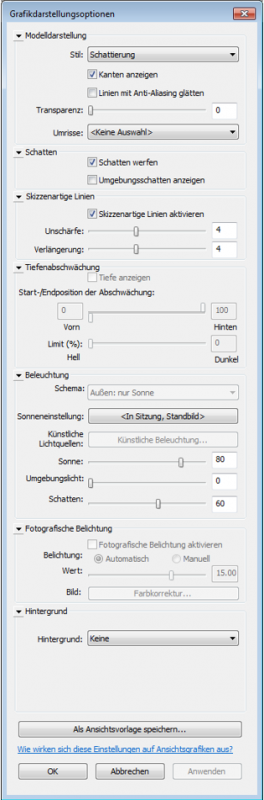
Graphics display options
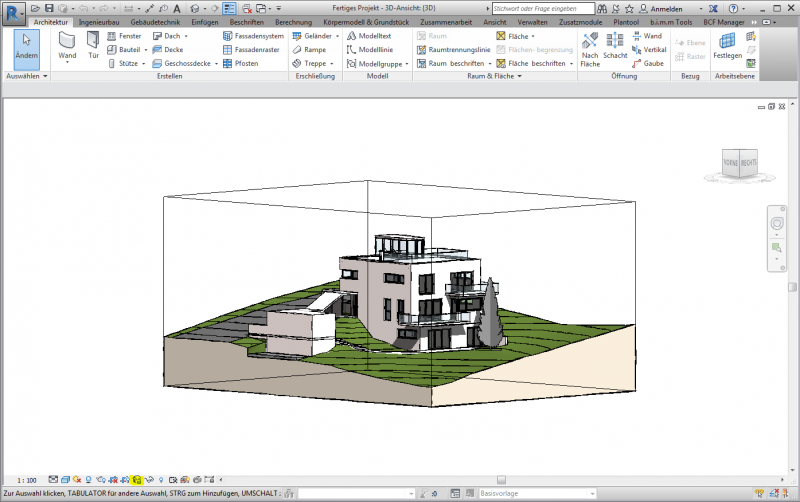
This option is available only in the 3D views and can be found in the Properties panel.
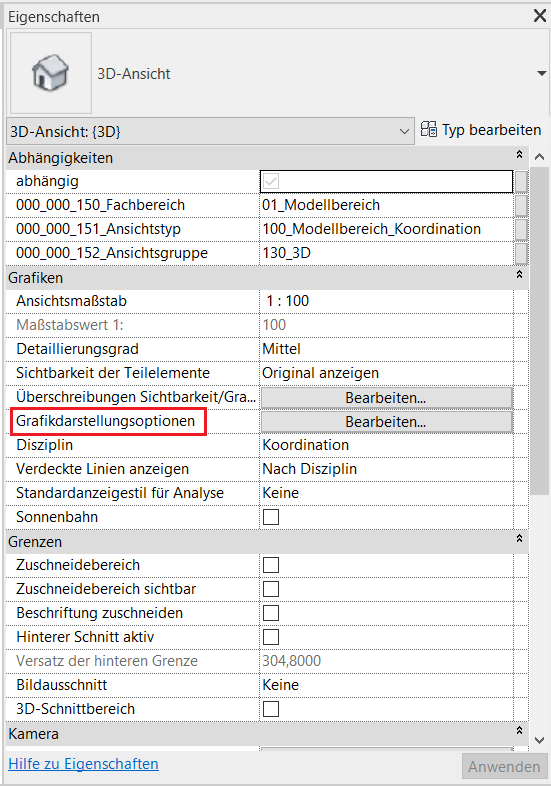
Here, you can configure settings for the following topics:
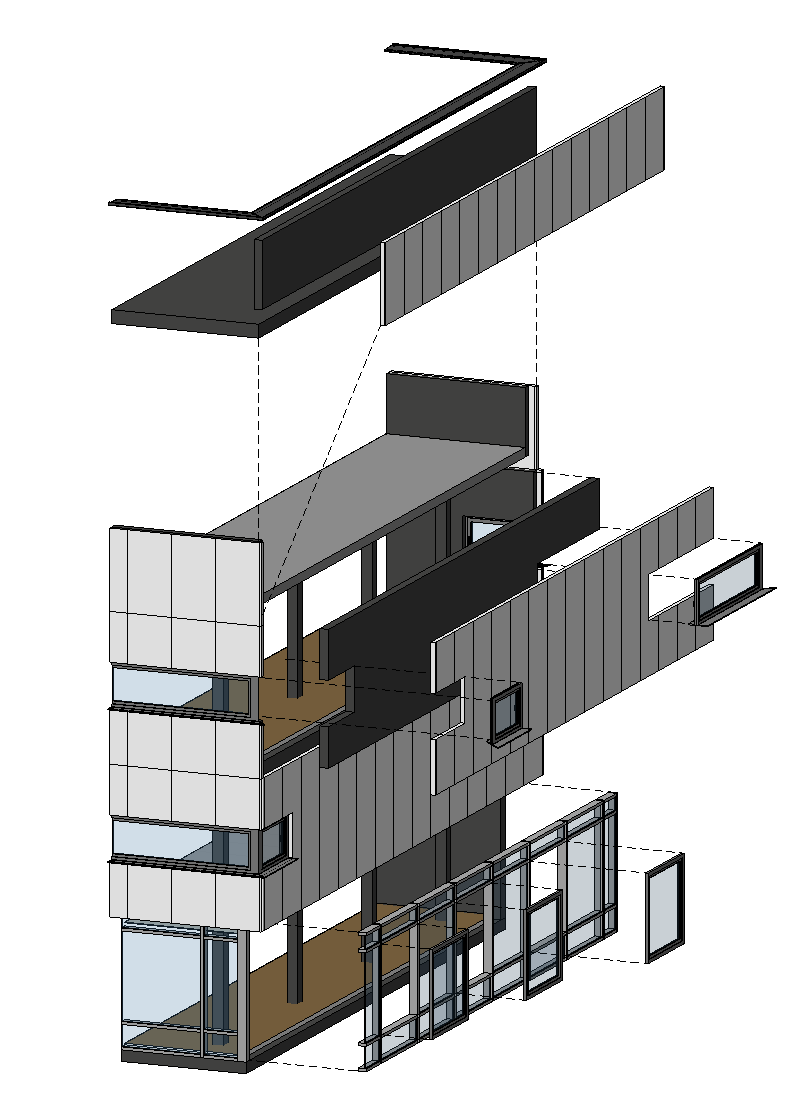
Exploded views are often used to better illustrate the individual layers of, for example, a facade.
In Revit, you can create exploded views using the "Move Elements" command.
Under Edit > Group (View) > Move Element, the selected element will be moved.

Note: This is only a view-specific shift.
A walkthrough is a short video that can be created by following a predefined path within the model.
Since this is a very extensive topic, there is a separate article on it.